Progress continues, now with a case!
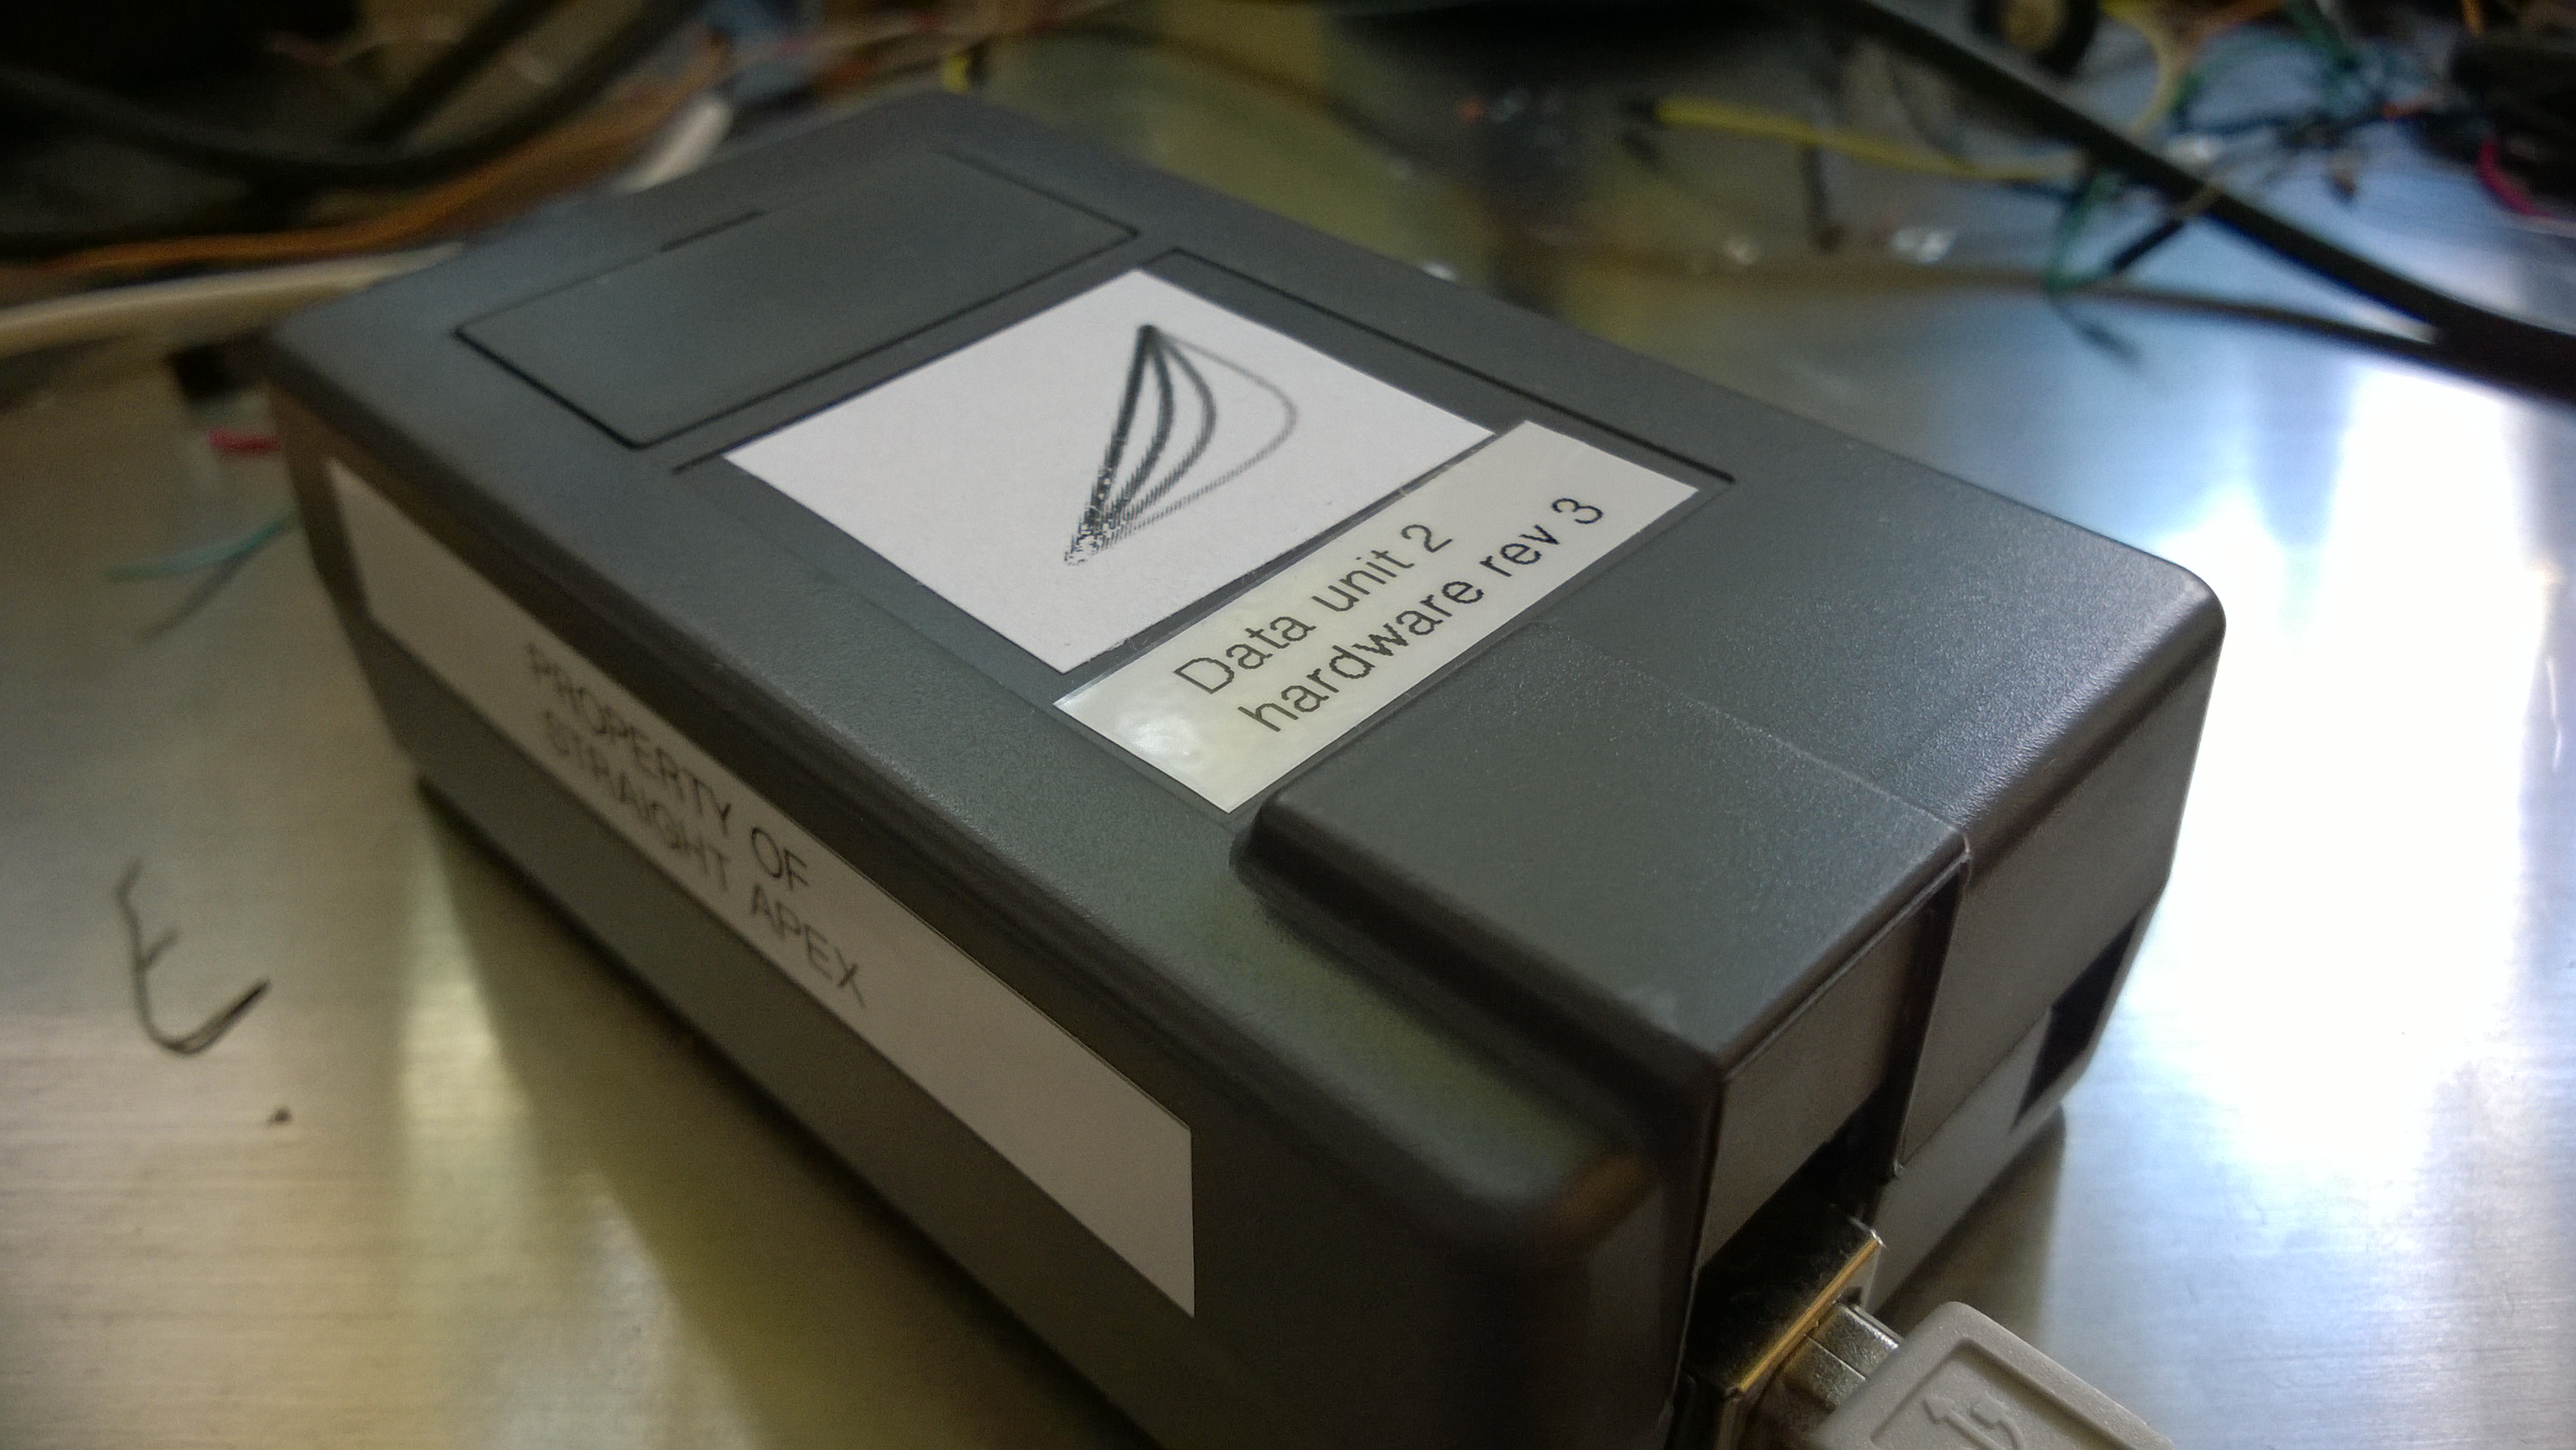
More info: http://straightapex.com/beta-unit-two-hits-the-road/
Progress continues, now with a case!
More info: http://straightapex.com/beta-unit-two-hits-the-road/
First iteration is working! More info at Straight Apex: http://straightapex.com/first-alpha-unit/
Was in Best Buy for a power strip and happened upon this Bluetooth speaker. I’m pretty sure the target markets for JBL’s new gadget are the states of Washington and Colorado.
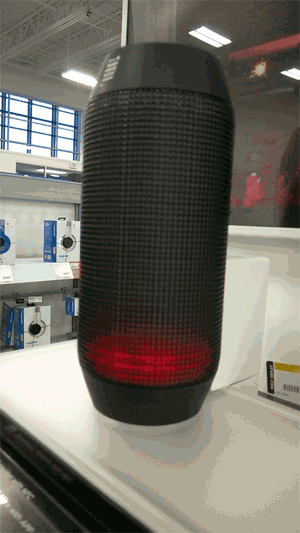
I have a sudden craving for Doritos…
… and I’m really good at shaking sticks at free music.

If you have an Xbox Music subscription make sure you install the Music Deals app. Back in November Microsoft released 100 albums for free, and now for December they’ve released another 50 free albums. There is a catch, of course: you need to have an Xbox Music subscription* (… or not, see note at end). Since the subscription is only $10 you may want to subscribe just to download the albums… you can always cancel right after.

Now you’re likely thinking: “it’s probably just a bunch of crappy old music, only available for Microsoft devices and with obnoxious rights-management handcuffs.” That’s what I thought, and I was wrong.
The albums aren’t DRM-crippled and they’re not 96kbps samples… they’re 320kbps MP3 files and MSFT has released apps for iOS and Android. Another great thing is there’s lots of great music from a good selection of genres. Most people’s musical tastes should be covered. Since my taste is fairly indiscriminate I made out like a bandit – 65 free albums and counting!
Here’s a selection of albums available in the current free 50:
There is an expiration date on this deal, however… the first 100 albums are already gone and the latest 50 will expire in a little over a week.
* A note on the subscription requirement: after I posted this my friend Jonathan commented on Facebook:
I don’t have an XBox Music subscription and still could download these. I think you just need an MS account. Hurray for free music 🙂
Leave a comment below if you’re able to download the music without a music subscription.
Paula and I bought our first flat panel HDTV back in 2005. The 32″ Samsung was initially installed in our San Jose kitchen before making the trip to Dublin, Ireland and the finally to out home in Bellevue. Back in early 2011 we started noticing some weird artifacts on the screen, it looked like the TV was switching all the images to 8-bit color.

It’s not the biggest TV at 32″ and it’s only 720p, but it fits perfectly in our bookshelf so I decided I’d try to fix it. I’m no electrical engineer, but I have a screw driver and an inquisitive spirit. What else would I need… other than a night in a Holiday Inn Express?
I started trying to debug it and pretty quickly came to the conclusion it was a heat issue. My first guess was dust had built up on a heat sink somewhere inside the set. I couldn’t see anything obvious through the vents in the top or bottom, but I tried a few blasts of compressed air to see if it changed anything. It didn’t. If I couldn’t clean it from the outside I’d clean it from the inside, so I opened up the TV. I learned something that is probably obvious to most: opening up a television is a lot like popping the hood on a broken car… it’s satisfying but also pointless act for 99% of the population (and I’m certainly not in the 1%).
What did I find when I opened up the TV? What I didn’t find was dirt. Sure, it was a little dusty, but nothing that looked like it would be choking the life out of our TV. I was, however still convinced the issue was cooling I decided to try increasing the airflow. My plan was simple, slap some small PC case fans on the top of the TV and block off the rest of the top vents to make sure air was pulled from the bottom and not just flowing in from around the fans.
Armed with a sheet of black polypropylene from TAP Plastics and a set of four 50mm case fans I went to work on my TV. I carved up the plastic, screwed the fans in place then duct taped the whole thing to the top of the TV. My improvised fan and baffle worked (almost) perfectly, the TV can now run as long as we like without the picture going all wonky on us.
I say it was “almost” perfect because it was a prototype… the plastic was too thin and the duct tape wasn’t a great hold and had to be redone every couple months. It was, however, good enough that it was on the back of the TV keeping it going for the past three years.
The solution was great in concept but lacking in execution. It was high time to turn the prototype into a finished product so I headed back to TAP plastics and picked up a piece of scrap acrylic for the bargain price of $0. Because I already had a great template in the form of the prototype it was quick to transfer to the new plastic stock.
The finished product is solidly built and screwed directly to the TV (no more slipping!). It actually has way more attention to detail than a hidden hack has any right to be. I suppose I’ll just have to spend more time looking at the back of our TV.

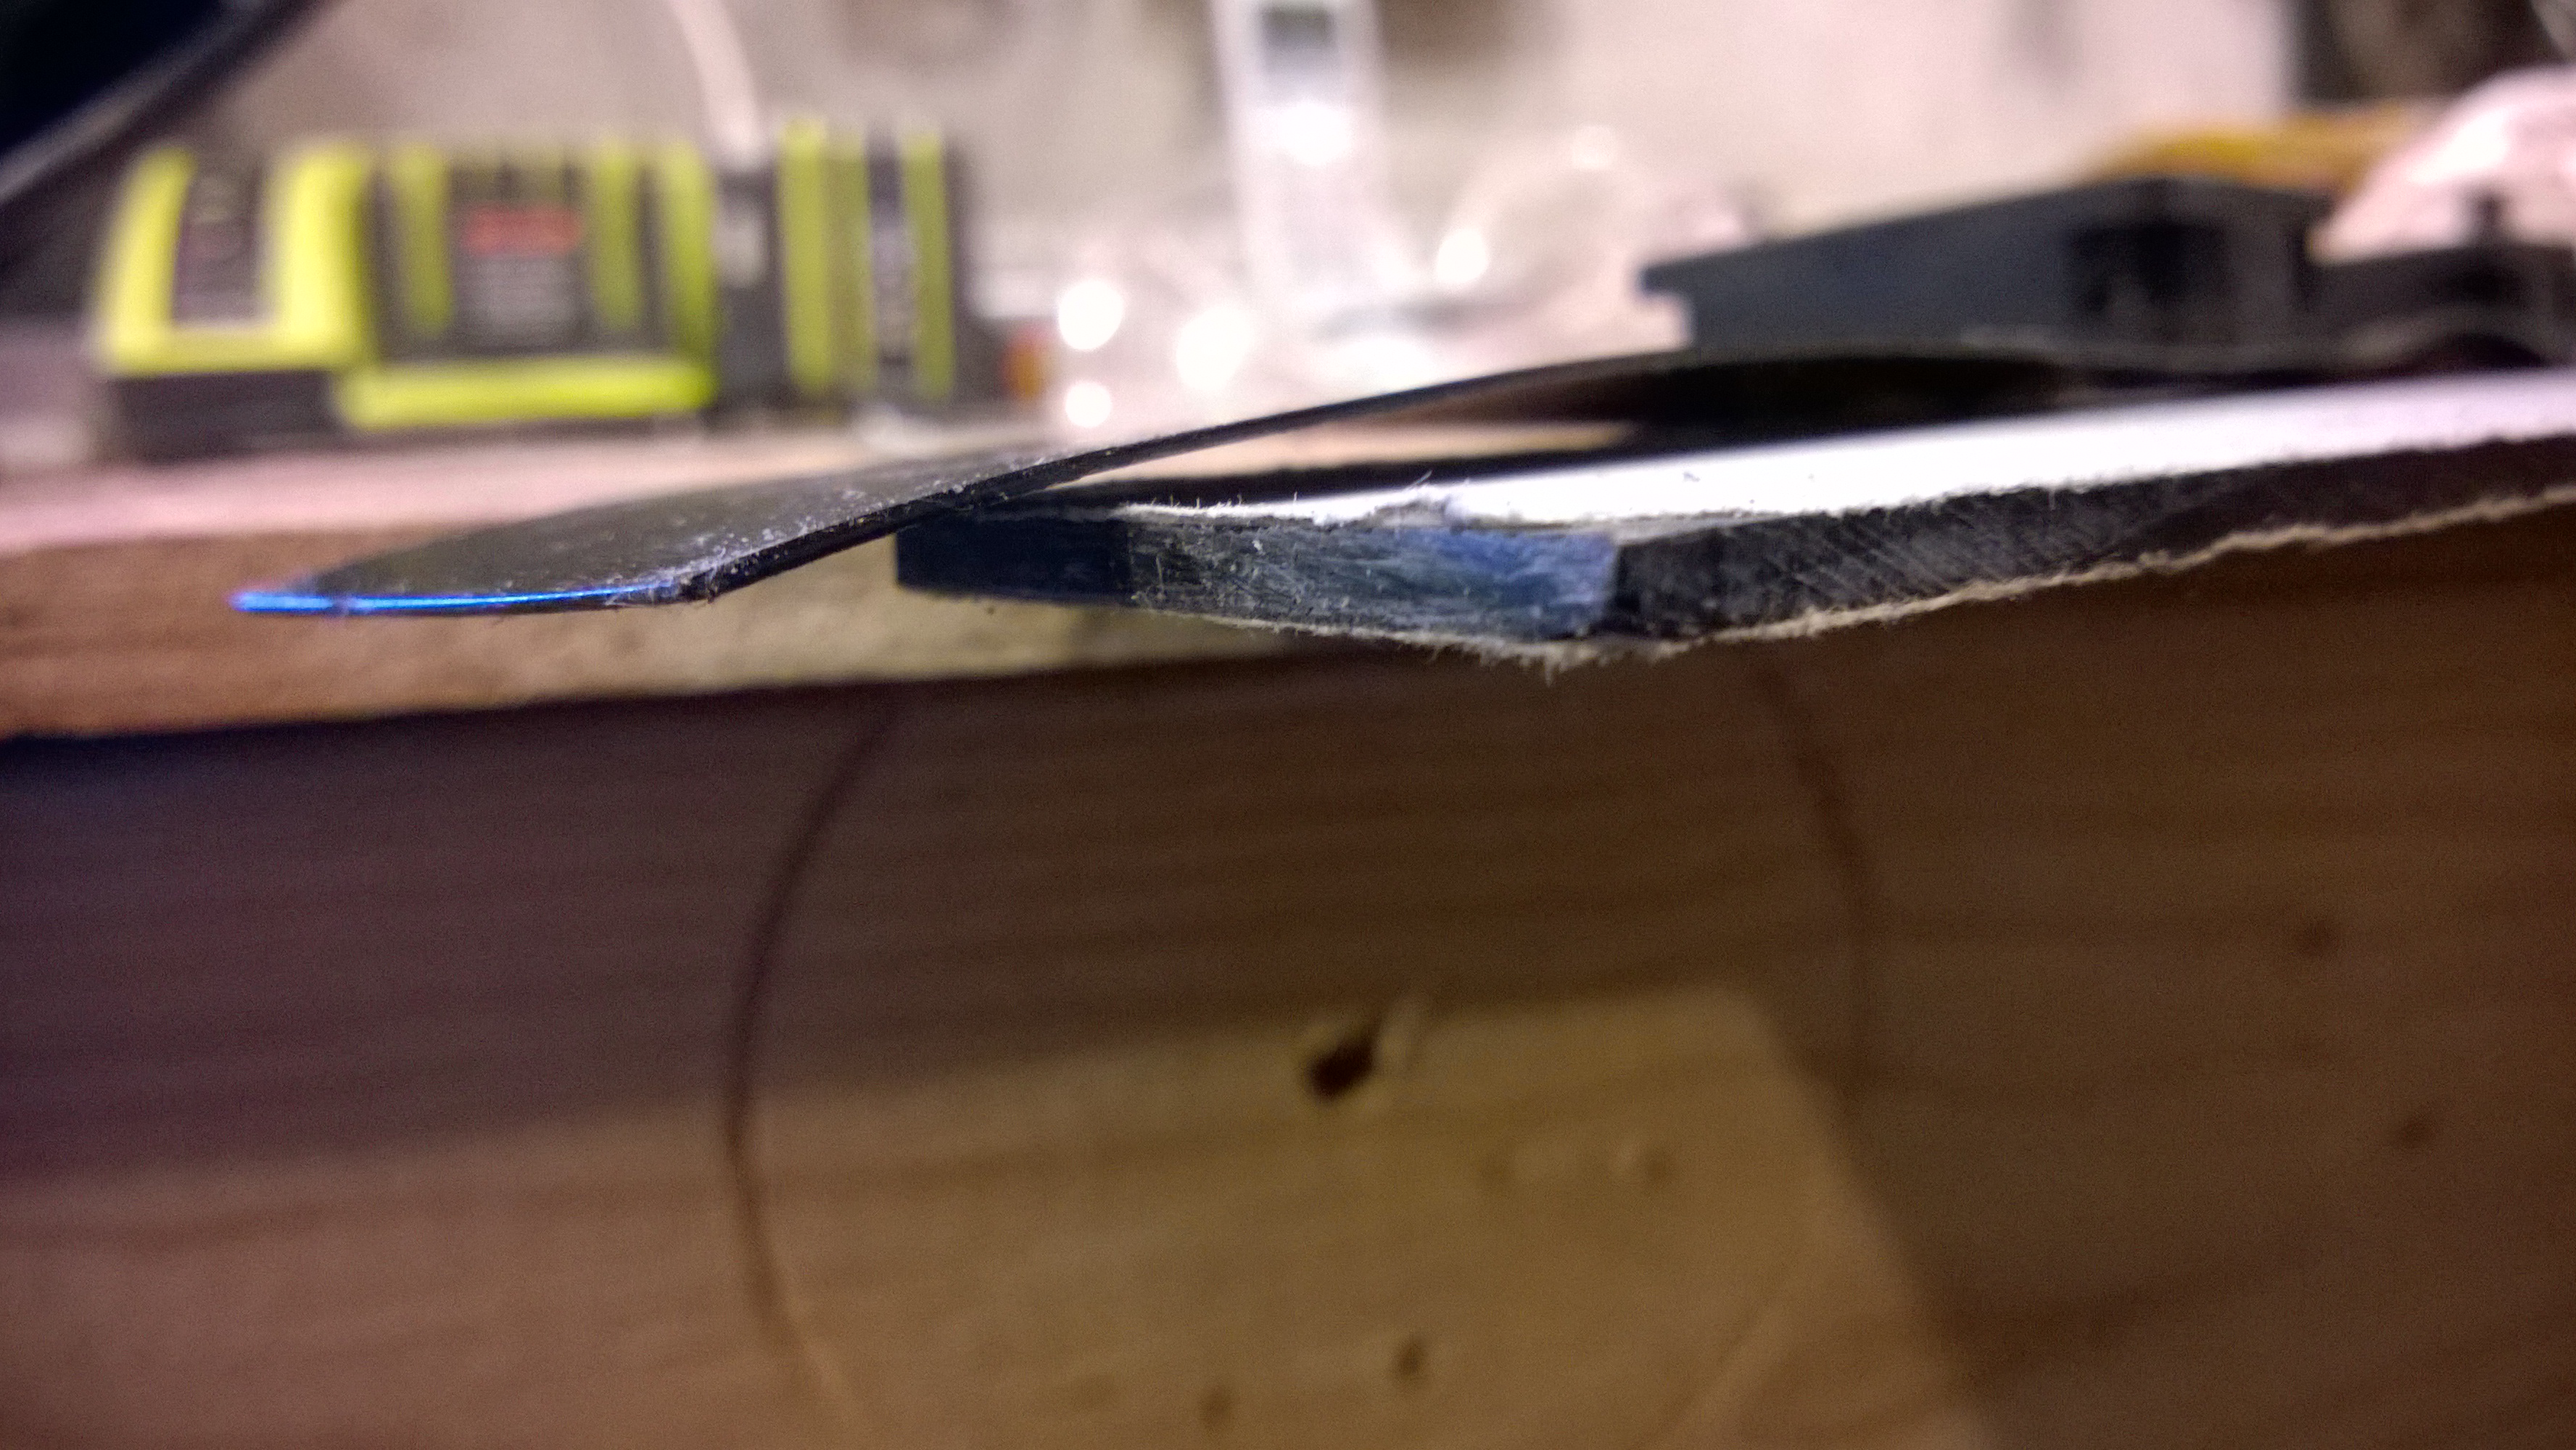
Today I decided to take a creative break and turn our old Weber grill into a foundry… because who doesn’t want to melt down old hard drives and turn them into art?
There are a number of ways to build a home forge using paint cans, flower pots, chimney pipes and more, but while planning out my strategy last night I came across a YouTube video by “LifeBuzzN” which used an old grill. Our old grill sitting behind the trash cans was just asking to get the treatment. First to Goodwill to pick up an old hair dryer then a quick trip to Home Depot (and then the requisite second trip to get the part I overlooked) and I was ready to go.
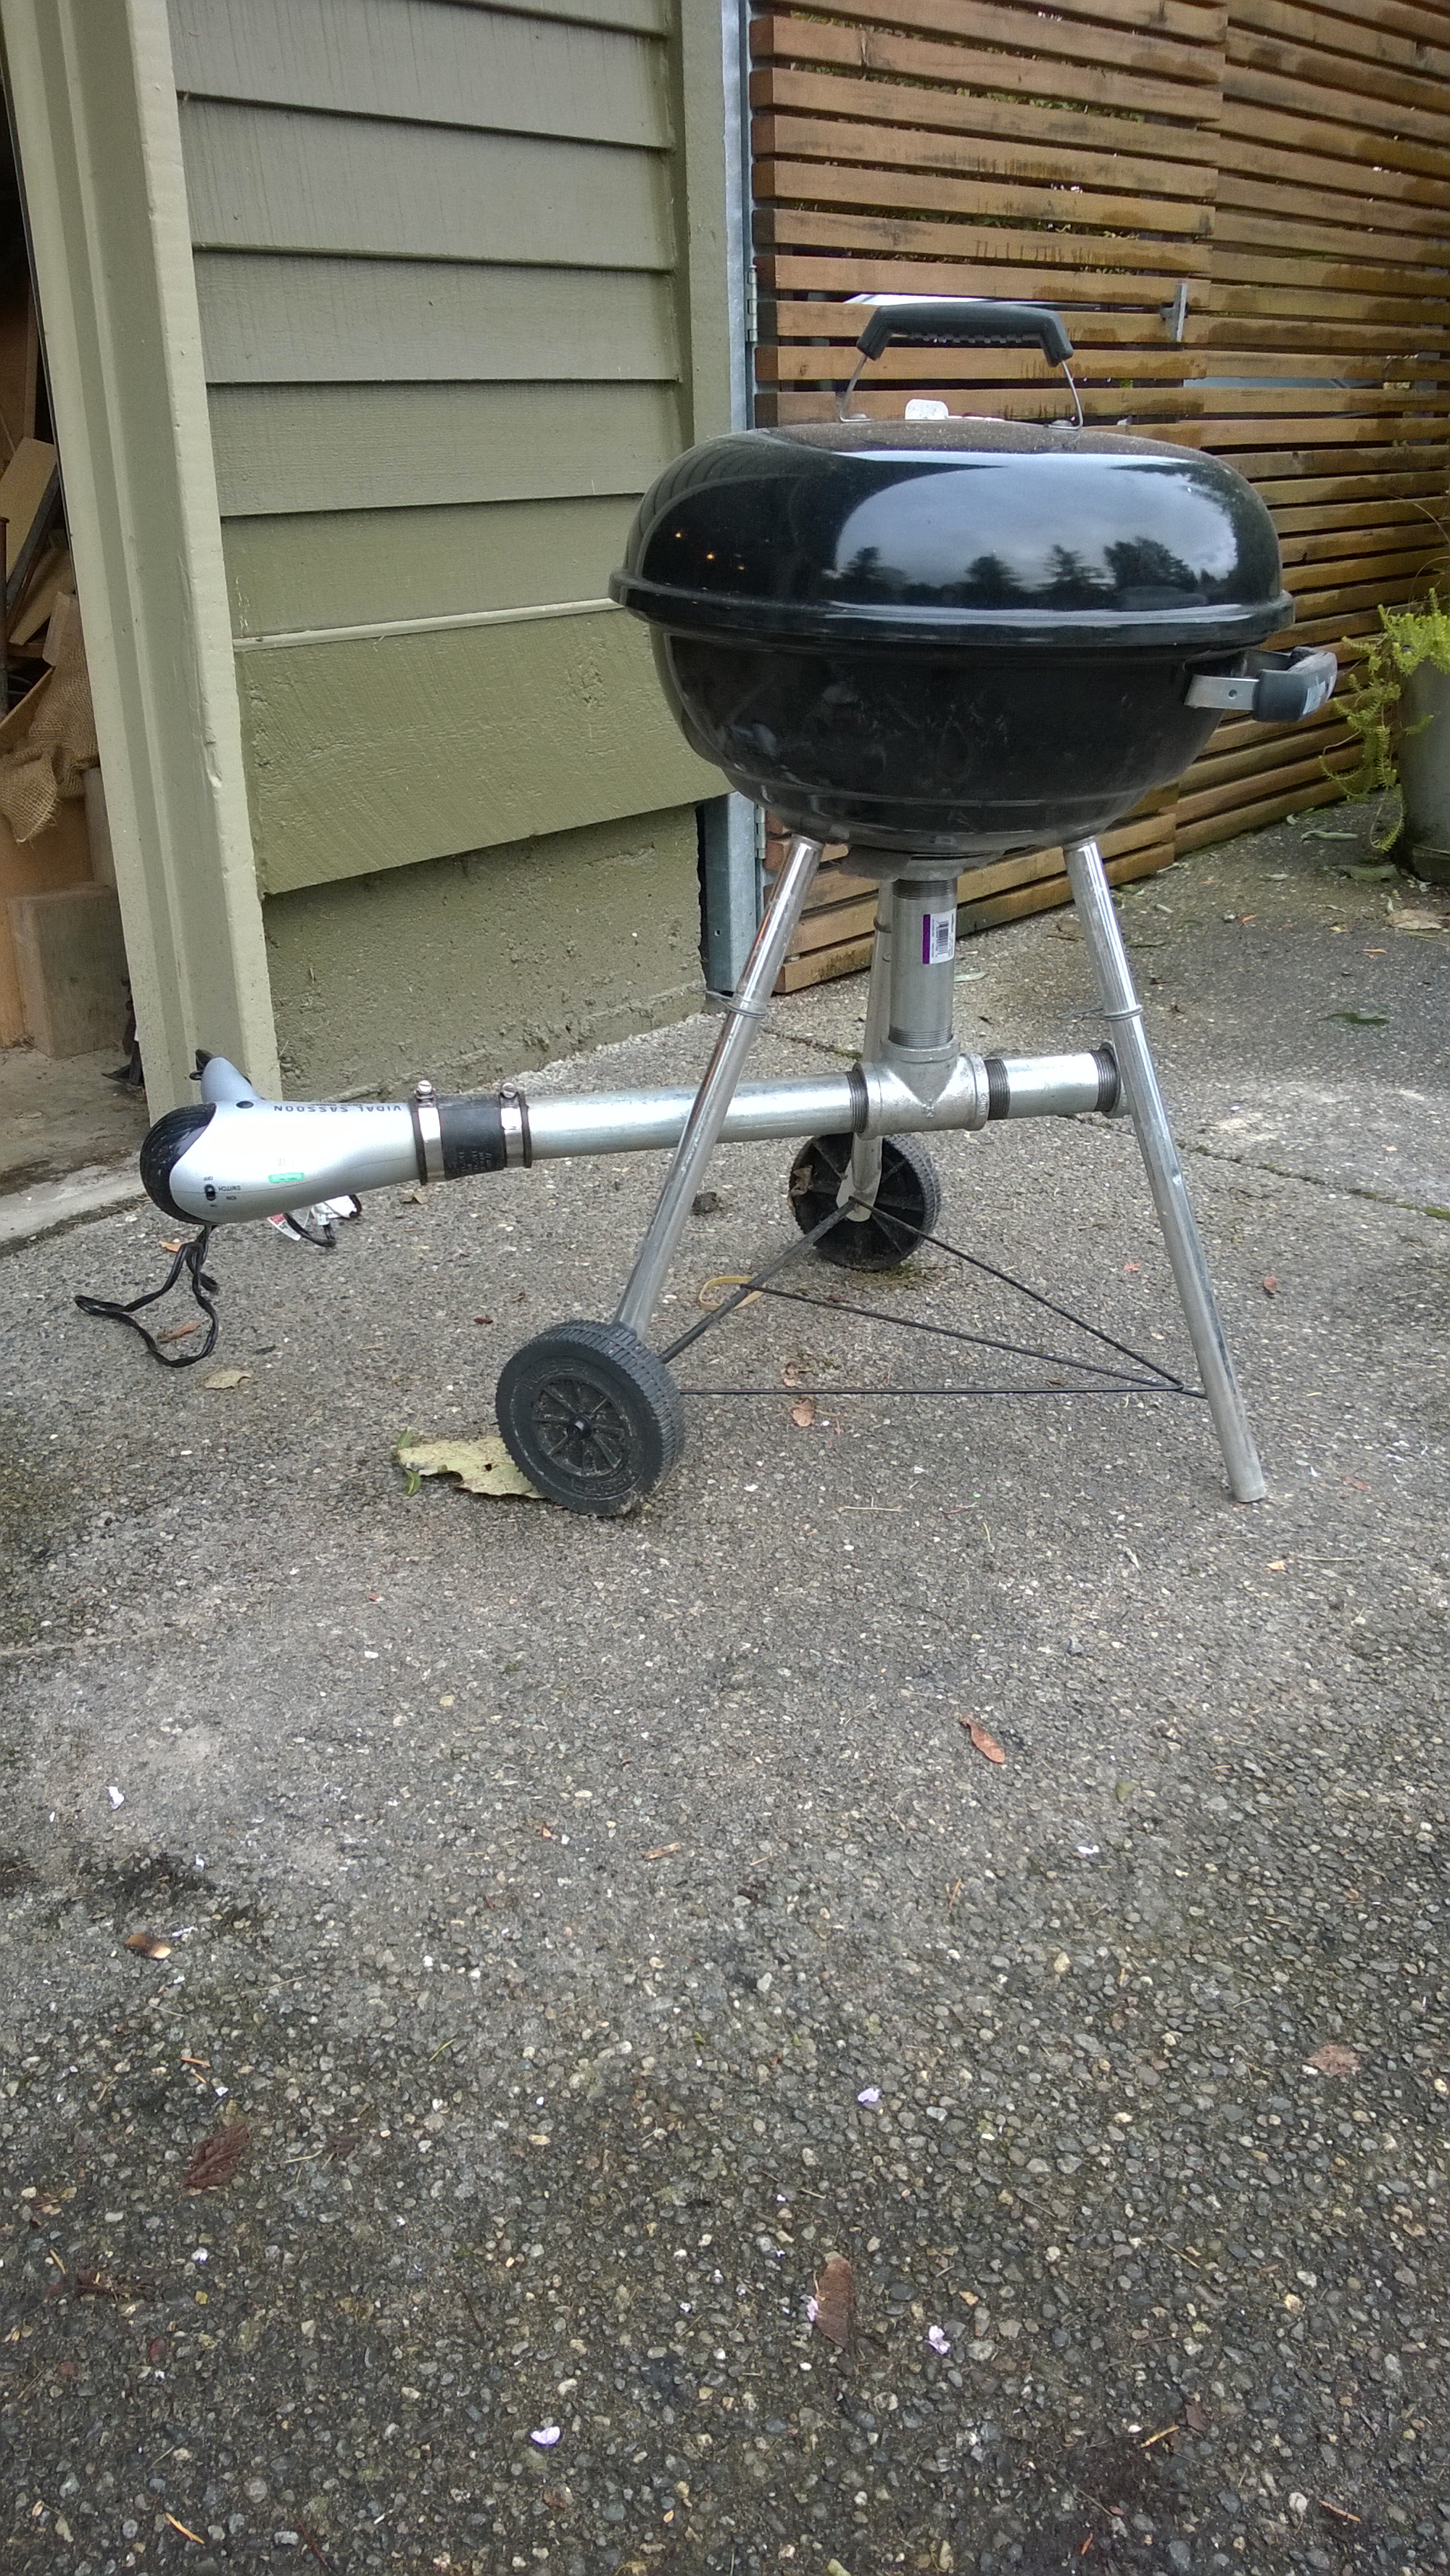
The setup is pretty simple, 1.5″ pipe is bolted to the bottom of the grill and an old hair dryer acts as an always-on bellows to get the coals extra hot. I used an old cast iron pot I also picked up at Goodwill to act as my crucible. After a half a day of tinkering and learning I figured out just what was needed to turn old hard drives into aluminum mini-muffins (ingots, if you must).
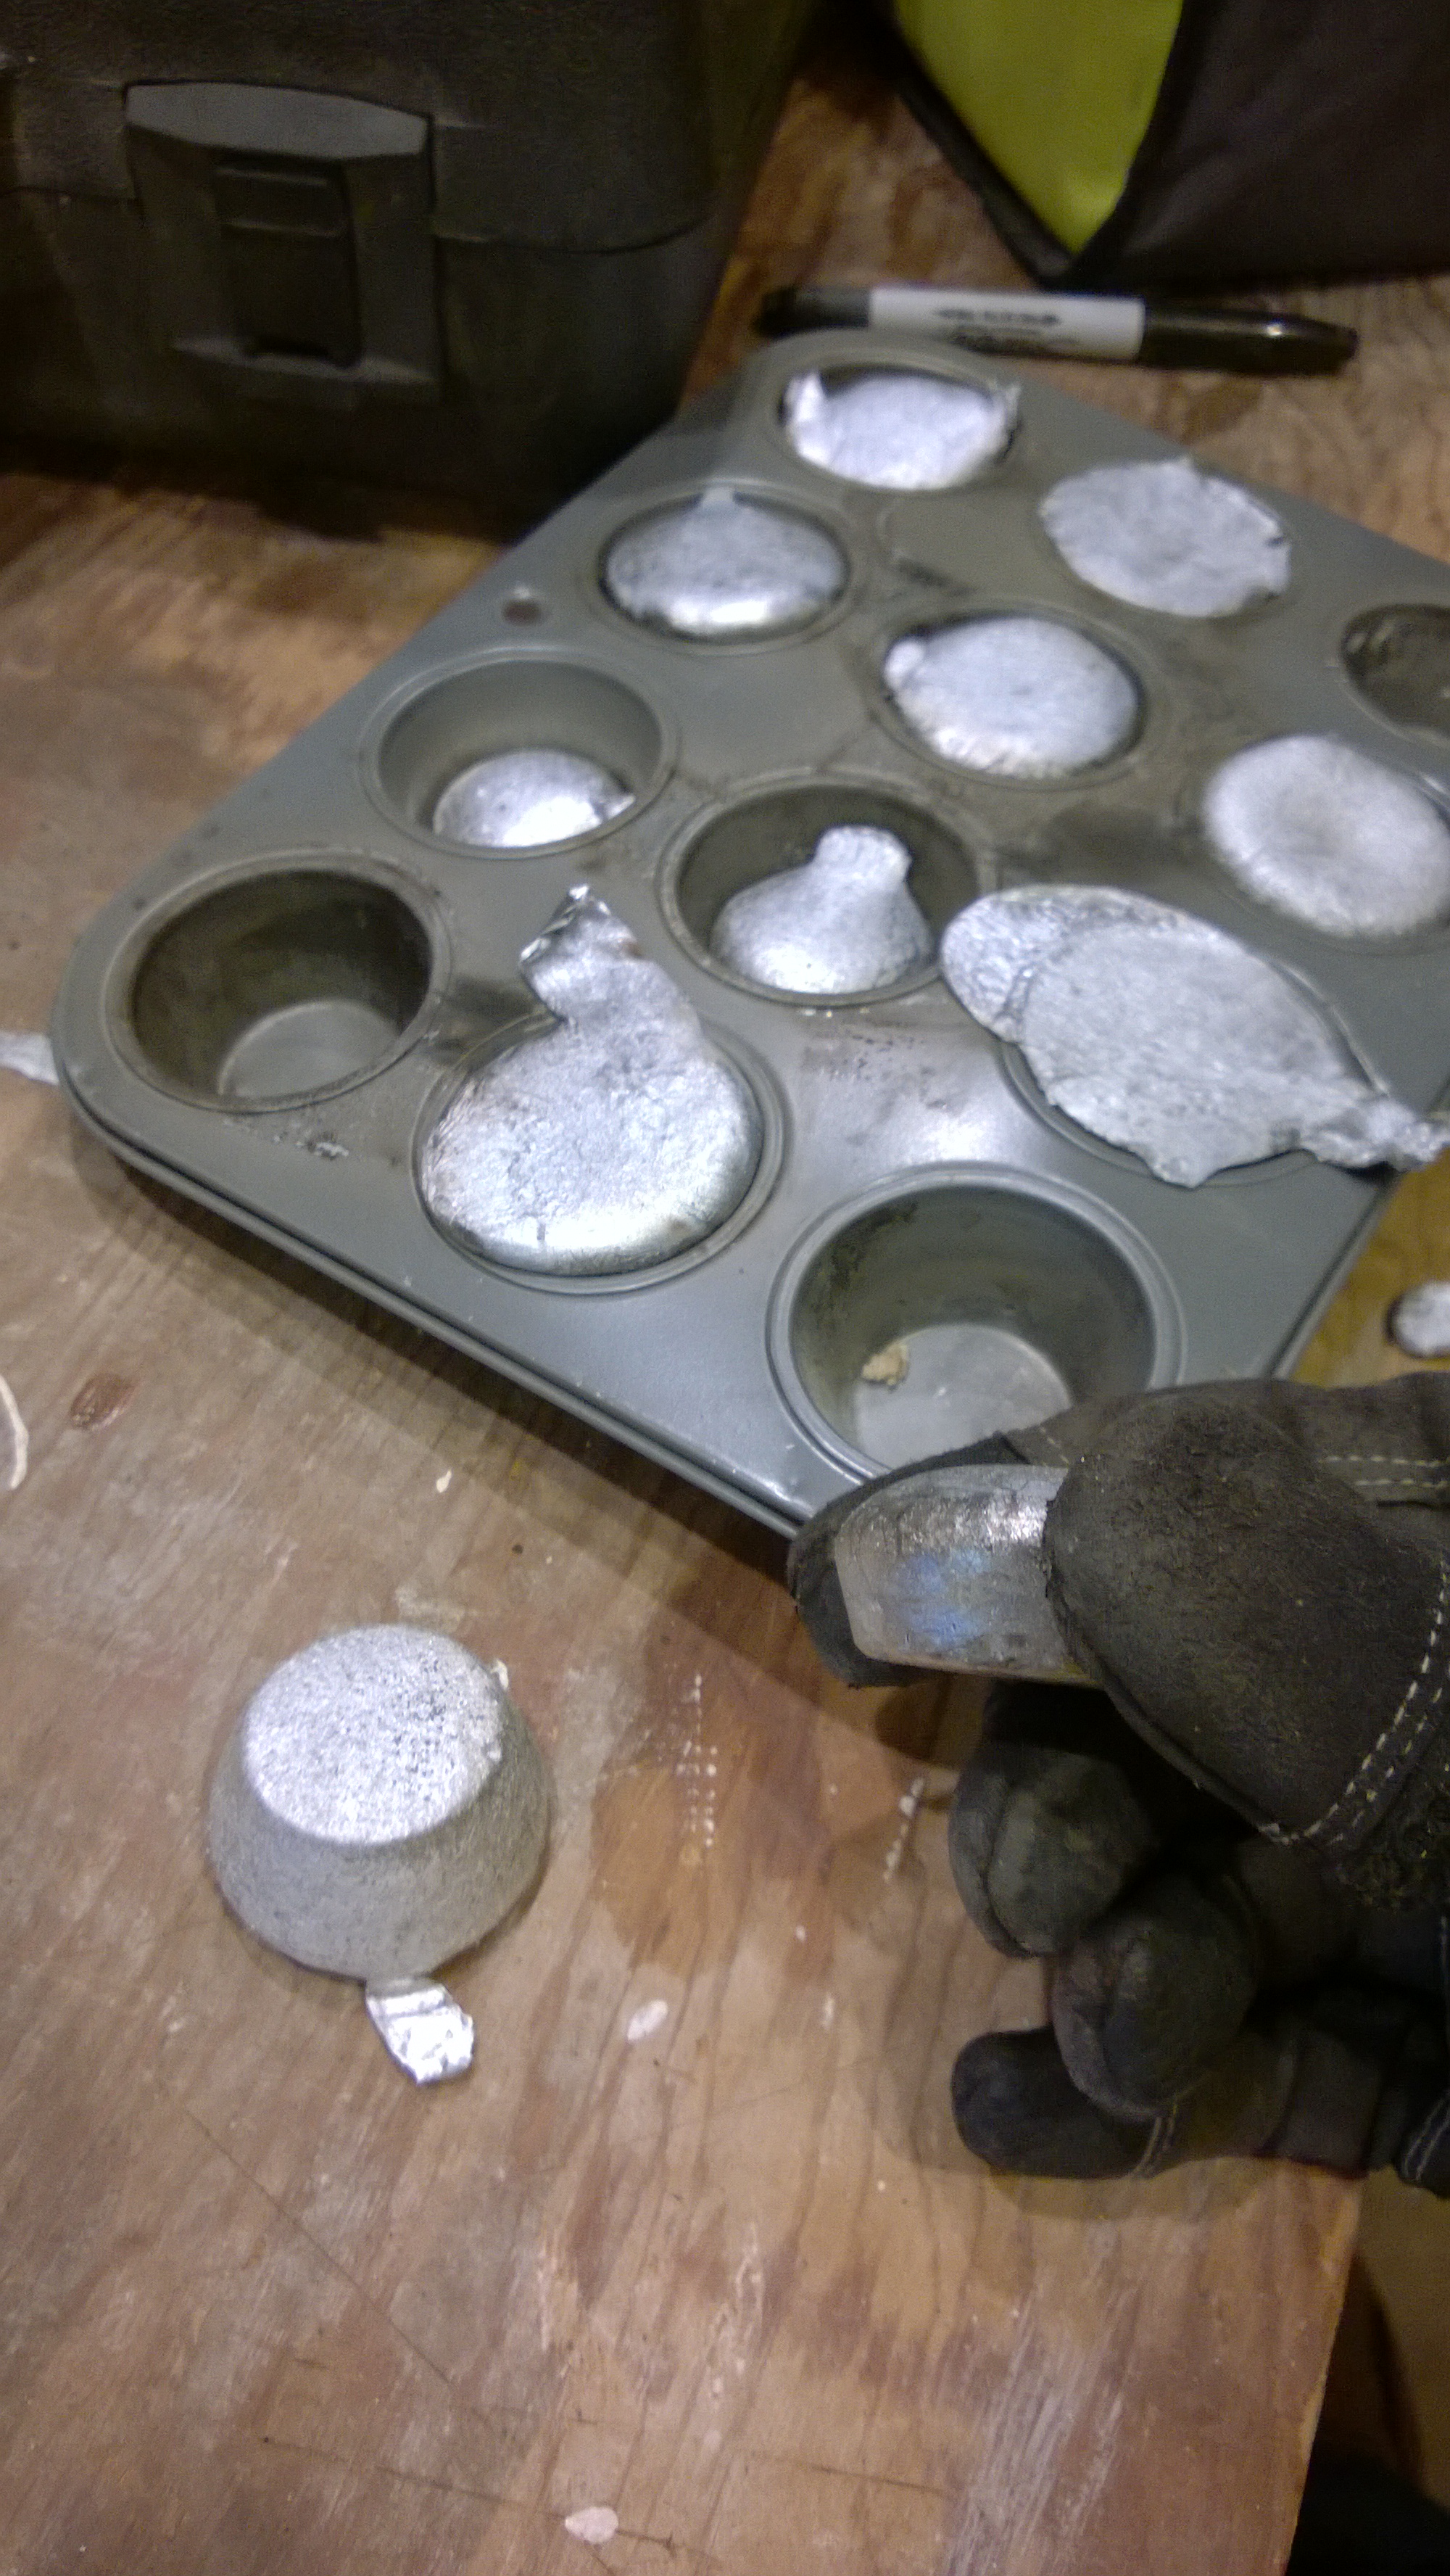
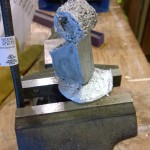
Since I had the forge going and a bunch of molten metal I had to try a quick casting. I made a hasty form out of some foam insulation and buried it in a bucket of sand. This “lost foam” casting process is quick and easy, leveraging the low boiling point of foam to have it boil away when molten metal is poured in. If you’re careful with your foam form and use a coating to keep the sand out you can get really clean results. I wasn’t careful, I was just to enthusiastic to try out my new toy. The result wasn’t pretty, but it was mine.
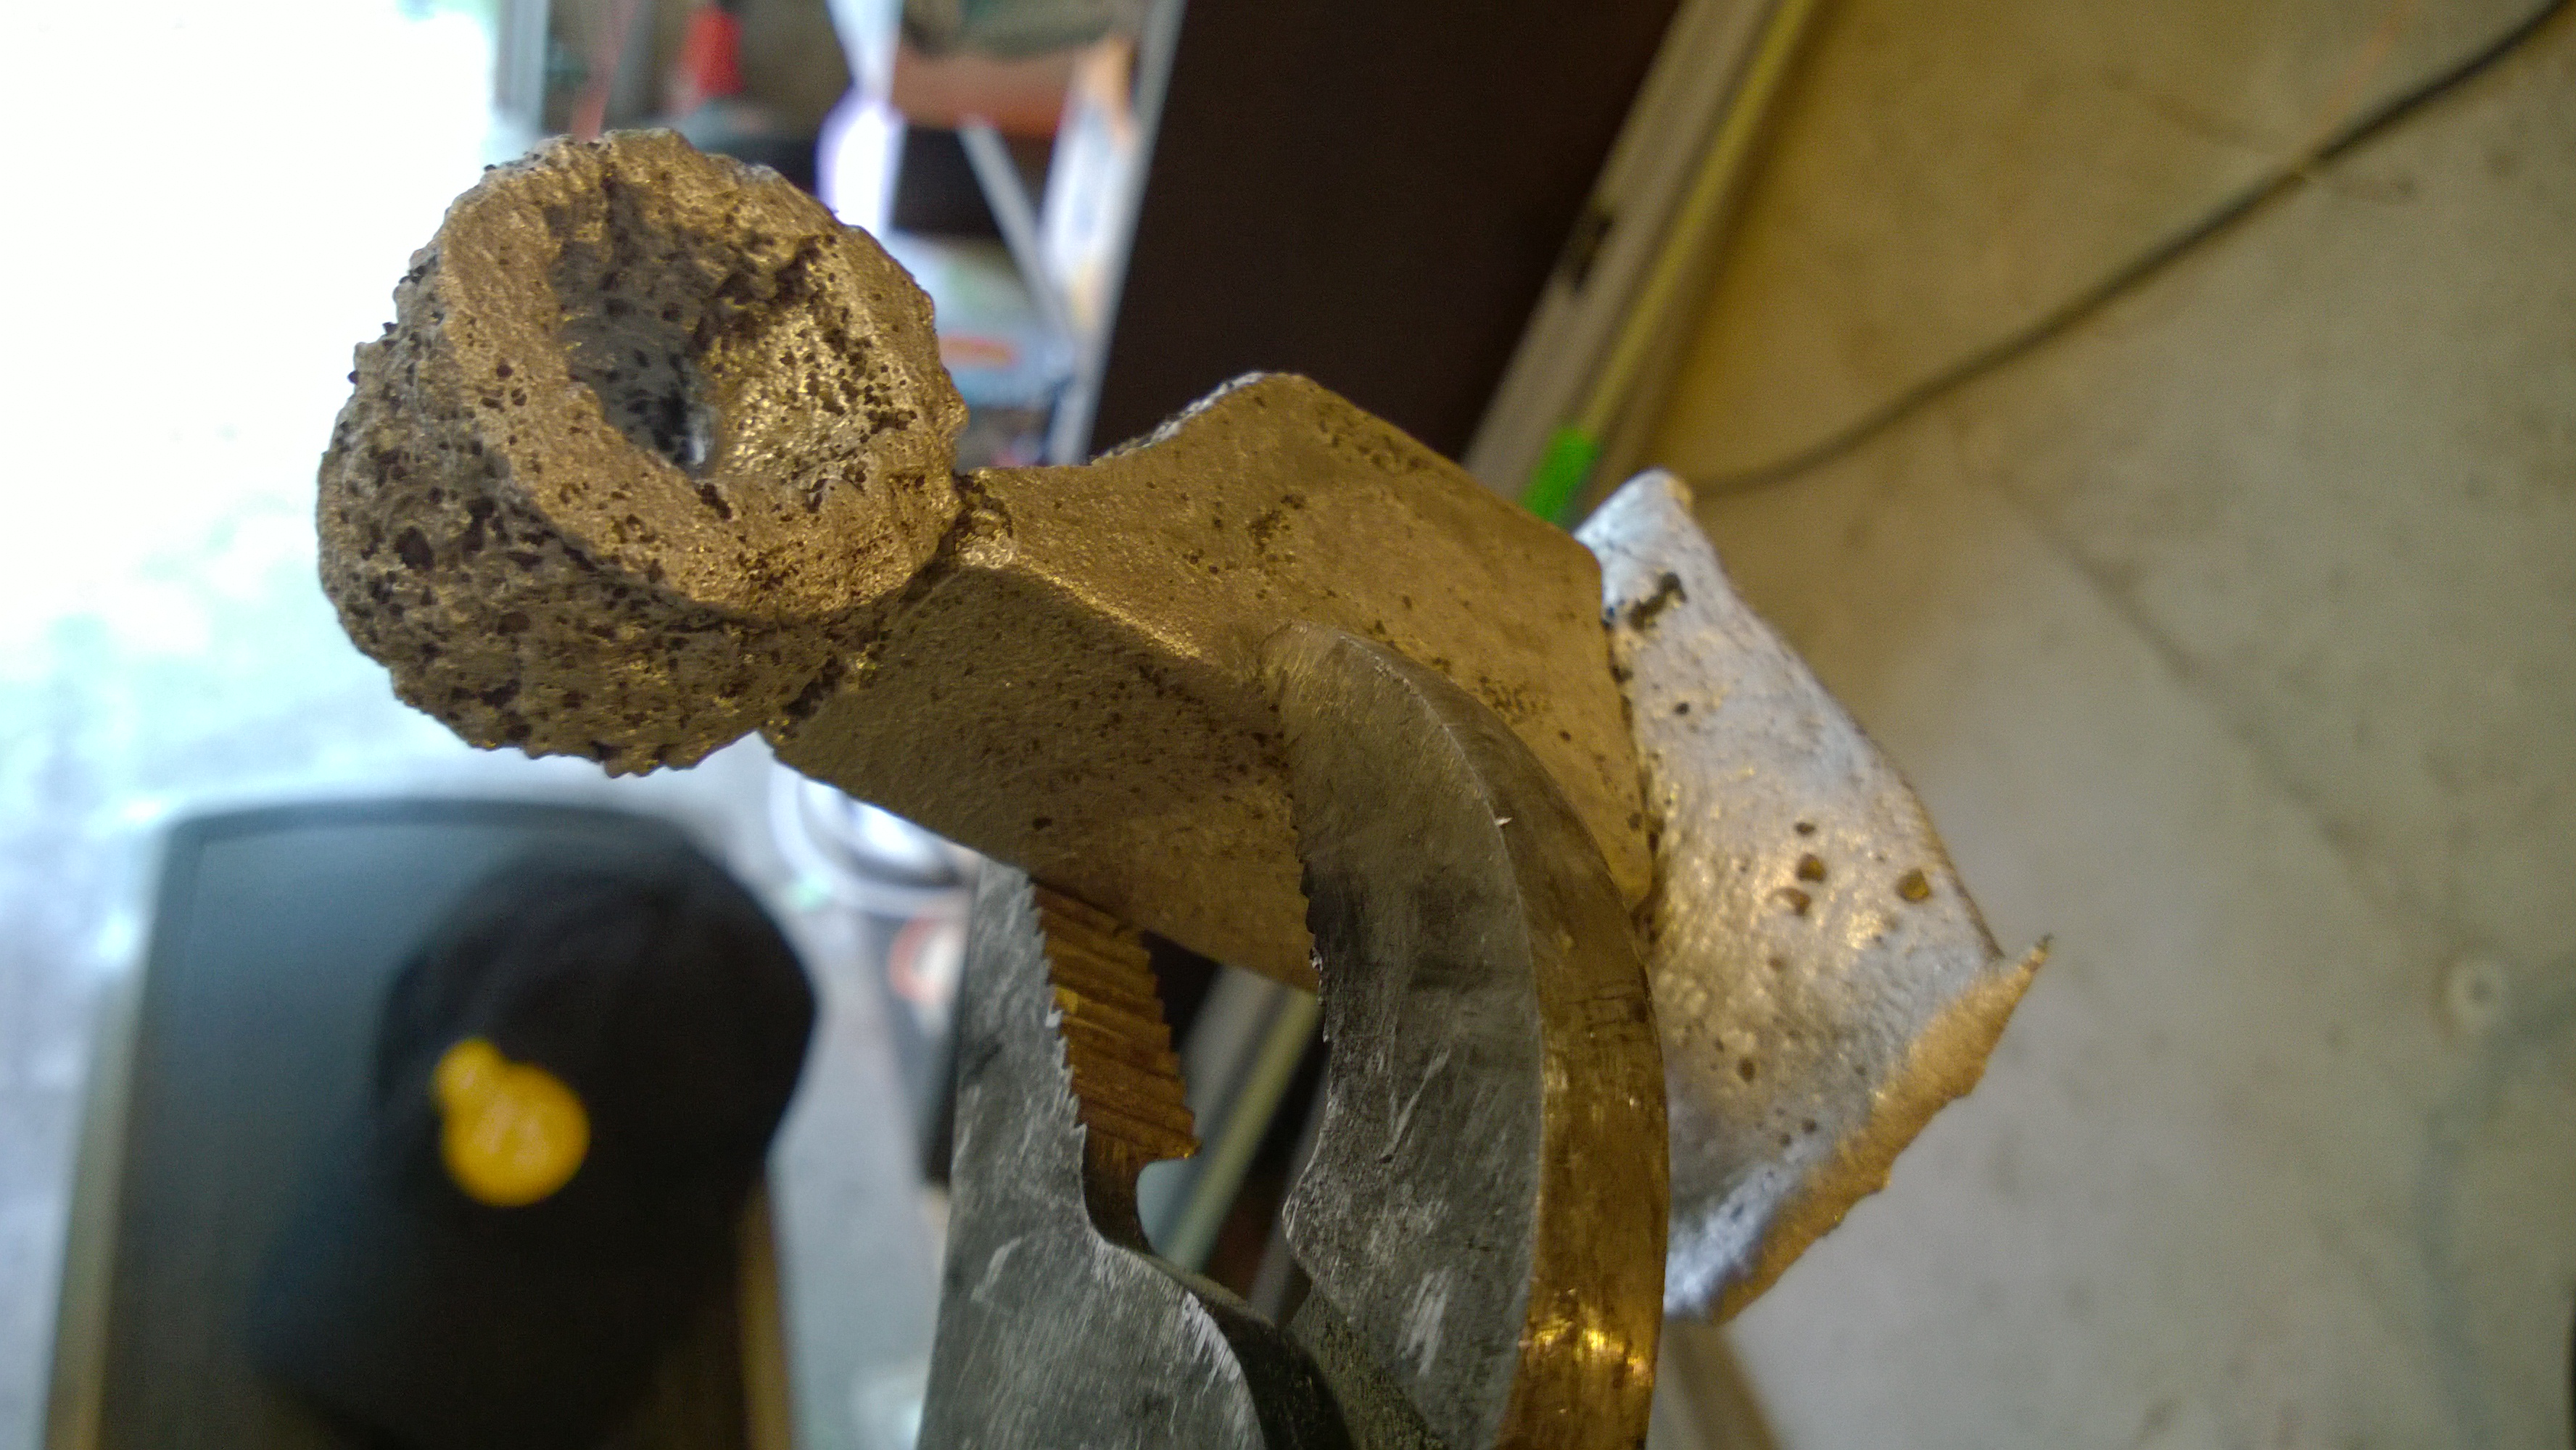
Next up I’m going to try getting refined and use the lost wax casting process. I’ve ordered some casting wax from Amazon, so I should be ready to try to create something a bit more refined this weekend.
Our annual tradition of making jam on Labor Day continued in style, with a total of 30 jars of jam in 4 different flavors. In previous years we made jam based primarily on the blackberries we harvested from the walking trail near our house. This year, however, we branched out and made three other varieties using some store-bought fruit too.
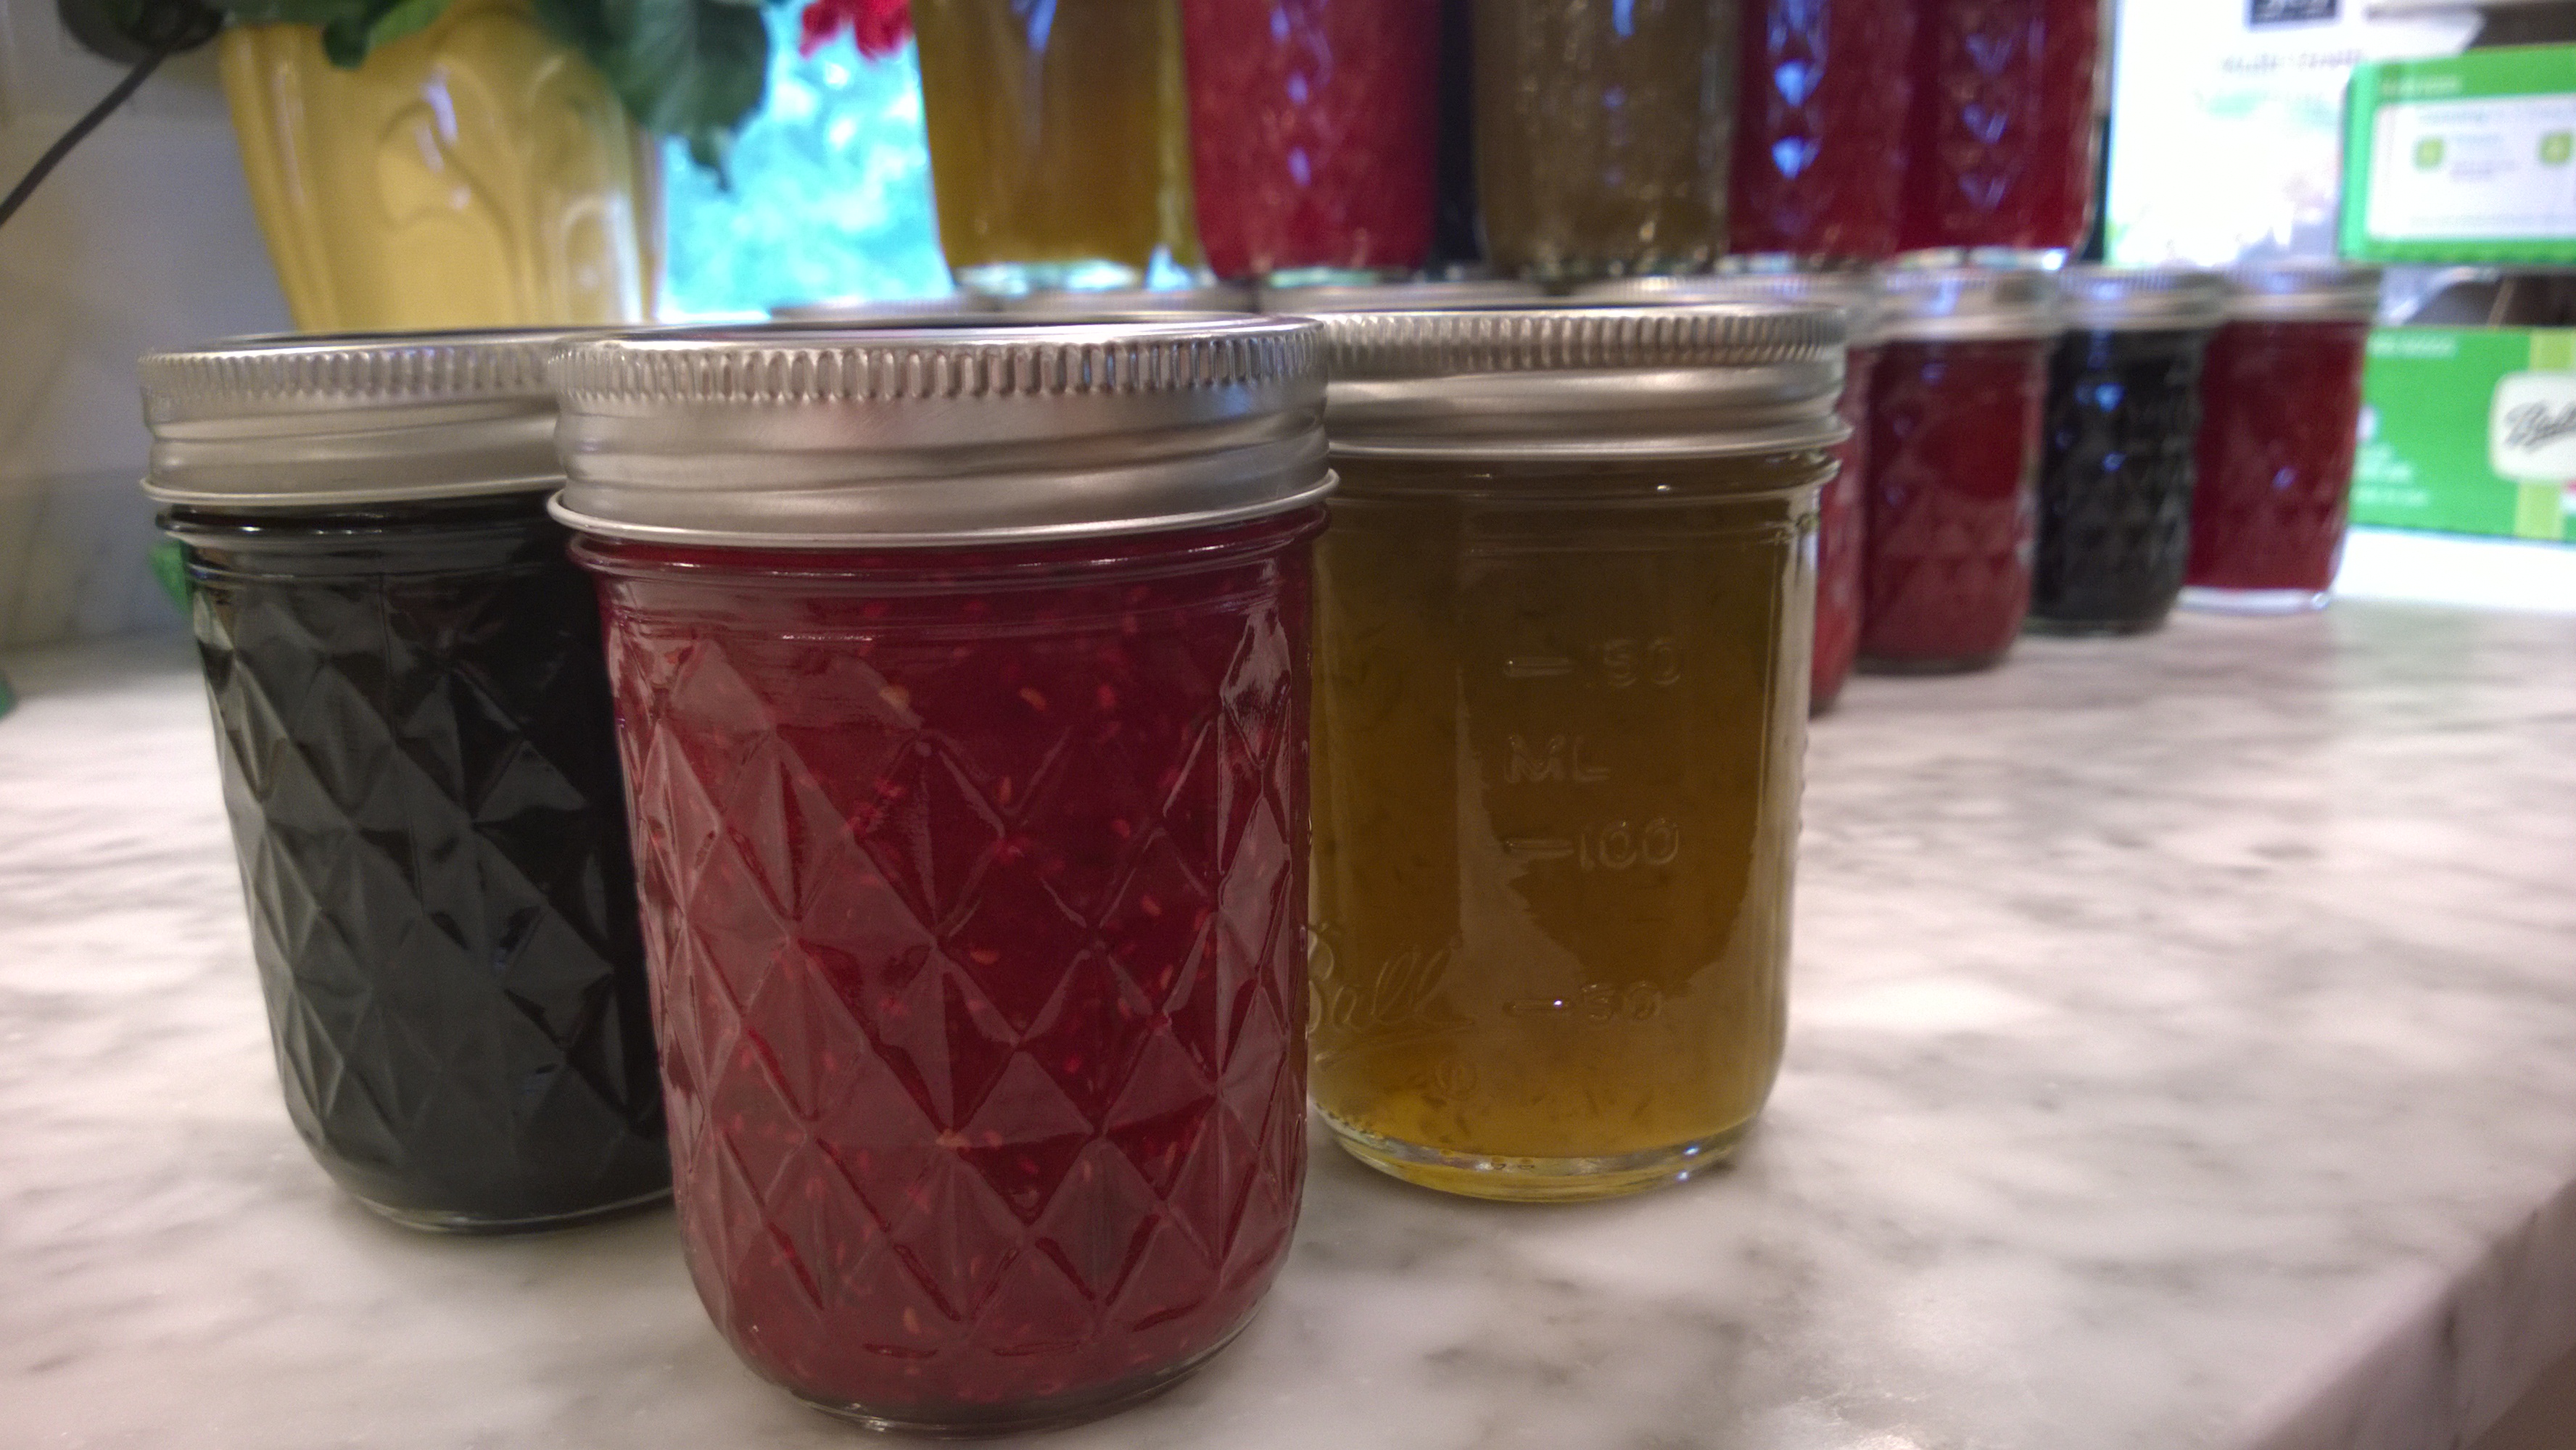
This year’s jam varieties were blackberry/blueberry, strawberry/lemon, raspberry lemon-thyme and Hatch pepper jelly (which is delicious on brie, yum).


All are delicious, but my favorite is the raspberry lemon-thyme, a recipe we found on the extraordinarily beautiful blog Jules Food… (warning, do not go there when hungry as you are likely to damage your keyboard by drooling all over it).
Here are the recipes we used this year:
Next up, we have a big bag of blueberries just waiting to be turned into blueberry lemon basil jam.
When I modded Thomas Taylor’s Tweeting Dryer project to add a washing machine I also wanted to change the way the phrases used by the washer and dryer were implemented. In the original project the strings were hardcoded as a set of global variables. To add a new phrase to the washer or dryer the code needed to be changed in three places then uploaded to the Arduino. I didn’t want to recompile for a string change, so I decided to make my tweeting machines pull their random tweets from a MySQL database on the web.

Note: for details and code see my earlier post: Tweeting washer and dryer for Arduino with Ethernet.
Below is a snippet of the code before my change.
#define NUM_MSGS 2 // change this

prog_char msg_0[] PROGMEM = "Hey, I can't fold these things by myself.";

prog_char msg_1[] PROGMEM = "Come and get me while I'm all warm.";

// add a line here

PROGMEM const char* messages[] =

{

msg_0,

msg_1

// Add a line here

};
To add a new string you need to 1) update the #define to reflect the new message count 2) add the string as a new prog_char 3) add to the messages array. Just doing that much work to add a single string is irritating… and you still need to plug your Arduino into your PC to upload your changes (and I bet your development machine isn’t in the laundry room).
Moving the strings from code to MySQL was accomplished with a new function: strFromMySQL. The new function takes a string as input (“washer” or “dryer” in my case) and returns a random quote as a string. The function calls a PHP file which in turn requests a single, random row from a database of quotes. When the string is passed back to the Arduino by the PHP pages the Arduino uses the text finder library to parse the random quote string from the HTTP response.
Setup requires three things:
The database schema is simple, you need tables for washer and dryer quotes and each of those tables need a column to hold the text. To use the code with minimal modifications create two tables, “Dryer” and “Washer”. In each table create a tinytext column named “thequote”. Fill in a few rows of data, using the strings from the original dryer code is a great place to start.
Once you’ve created your database download and modify the PHP files: strFromMySQL. You’ll need to update the conec.php file, adding the information for your MySQL database created in step 1. At this time you can also take a quick look into the washer and dryer PHP files to see what’s going on. The magic here is really not that magical at all, it’s just sorting the database in a random order and limiting the results to a single row.
select * from Washer order by rand() limit 1
Once you’ve uploaded the PHP files to your server it’s a good time to do a quick sanity test to make sure things are working correctly. Open up a web browser and open either your washer or dryer PHP page from the server. If all is working correctly you should see a blank page in your browser. It’s blank because the PHP is designed to return a minimal result so the Arduino has less work. The next step to testing is to right click in the page and view the source (e.g. “view page source” in Chrome or “view source” in IE). When you view the source you should see a quote in angle brackets (e.g. “<Hey, I can’t fold these things by myself.>”). If you don’t see a quote, circle back and check your settings in conec.php and check your MySQL settings. Also make sure PHP is correctly configured on your host and can successfully talk to MySQL.
Now that the PHP pages uploaded and talking to MySQL it’s time to customize the Arduino code.
You should be ready to go at this point. Recompile the code and upload to your Arduino.
With the strings and the code separated you are now free to add new tweets to your washer and dryer without coding and without fear of running out of memory. Any time you want to add a new string, just go to your database and add a new row, the new string is instantly added into the random queue.
How did this work out for you? Do you have any clever new tweets for a washer or dryer? Share your results in the comments below.
My tweeting washer and dryer have been running great for a bit now and I’ve done some code cleanup to make it less embarrassing to share. The code attached to the post is designed to use an Arduino Ethernet shield, not the WiFly module from the original example. If you already changed your tweeting dryer to use an Ethernet shield you can probably just download this code and upload it with little-to-no modification.
Download the Arduino code, circuit diagram and PHP files from my Git repo: WasherDryerMessenger
I’ve added a number of things to my code which weren’t in the original. I have, however, put them behind configs so I believe you should be able to use the code without hardware changes.
Here are two relevant configs at the top of the code:
If you want to have a tweeting washer as well as dryer, the hardware change you’ll need to make is to duplicate the current sensing circuit already in place for the dryer and add a third LED. In the diagram below left I have recreated the original circuit from Thomas’s Dryer Messenger in breadboard format (click for full size). On the right I show the added washer circuit (note: Ethernet shield not shown for simplicity).
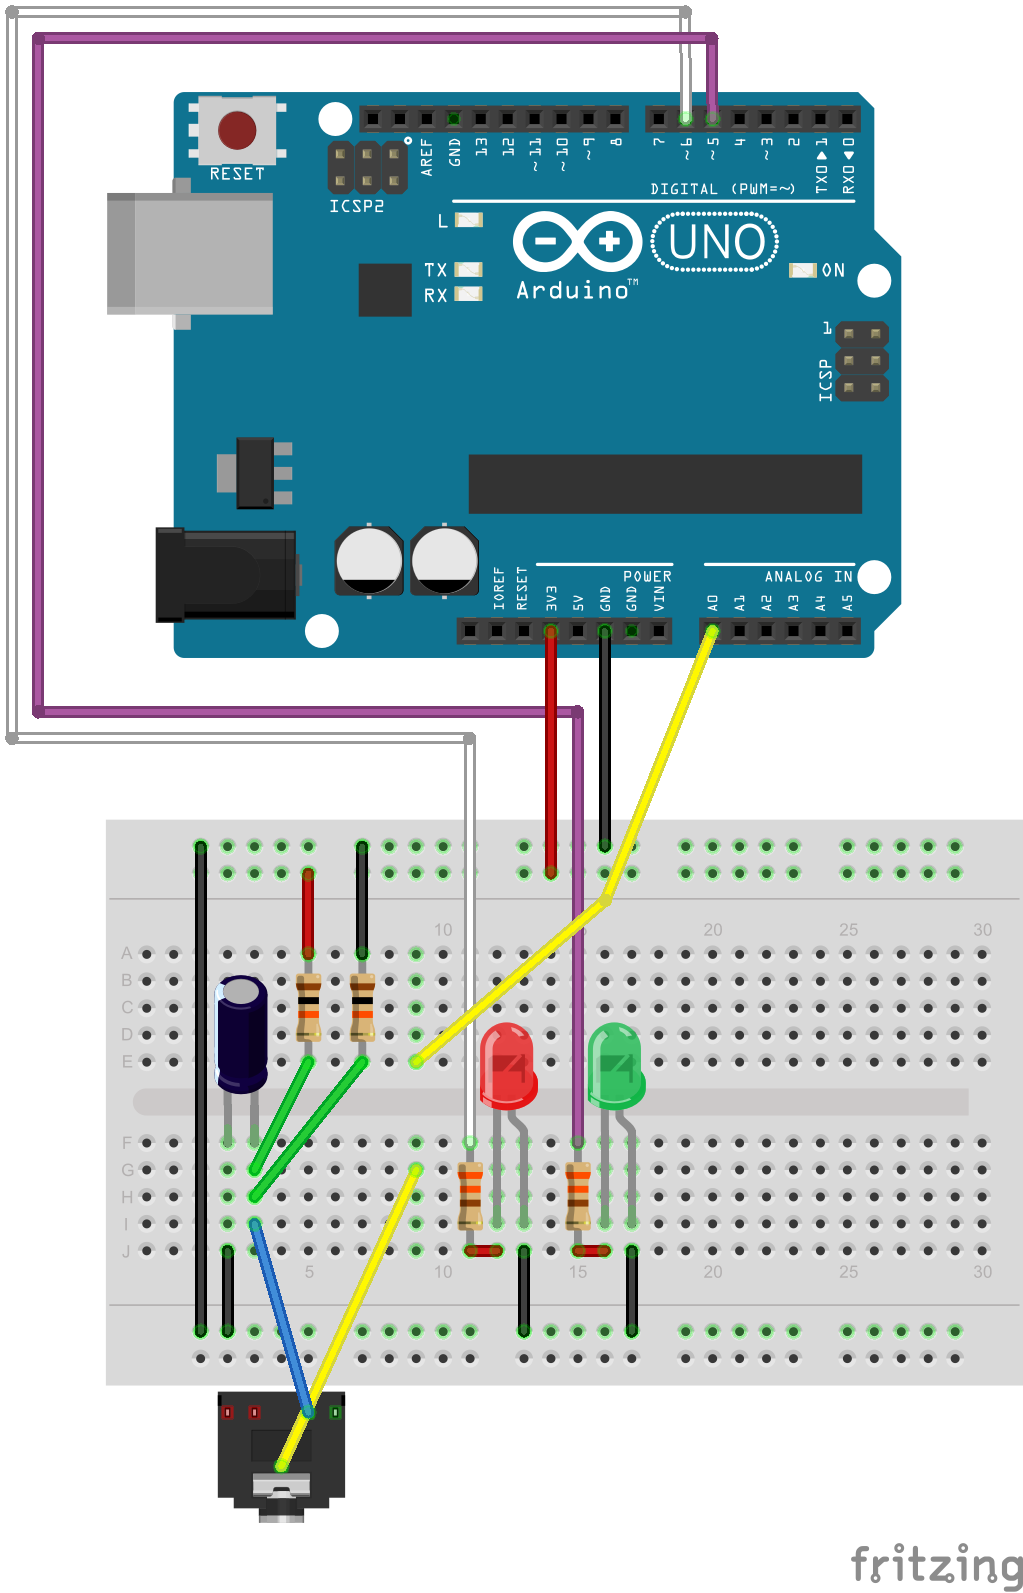
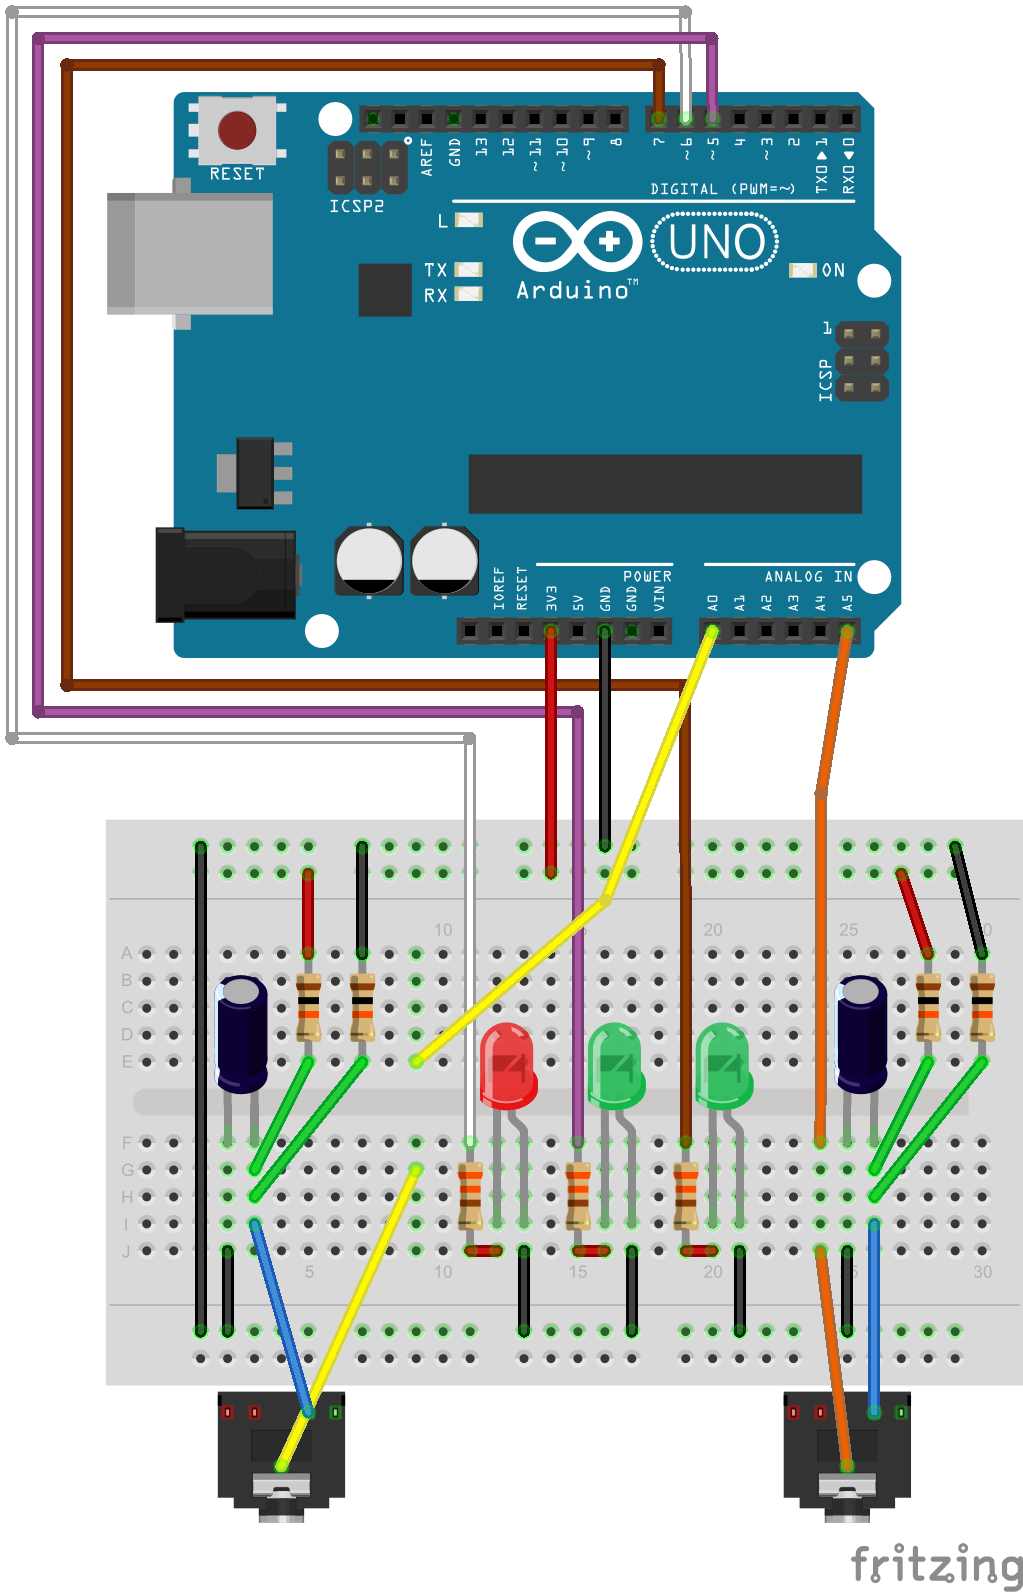
When you finish the modified circuit you can test it by plugging the dryer into the new transformer jack and updating the dryer pin setting in the code. Only after you’ve tested the hardware should you plug in both appliances and turn on the washer tweeting using the WASHER define (see the configuration notes earlier in this post). If you want the same account to tweet both washer and dryer status you can duplicate your dryer OAuth token for the washer on line 103. I elected to have separate handles for my washer and dryer and obtained a second OAuth token from Arduino-tweet.appspot.com.
At this point you should have a tweeting washer and dryer but you’ll notice the tweets are the same every time and rather boring. To add variety back to your tweets you should follow my instructions for enabling the WEBMSG for getting random tweets from a database on the web: Getting a random string from MySQL for Arduino.
Have you added a washer to your setup? Share your washer’s twitter handle in the comments below.
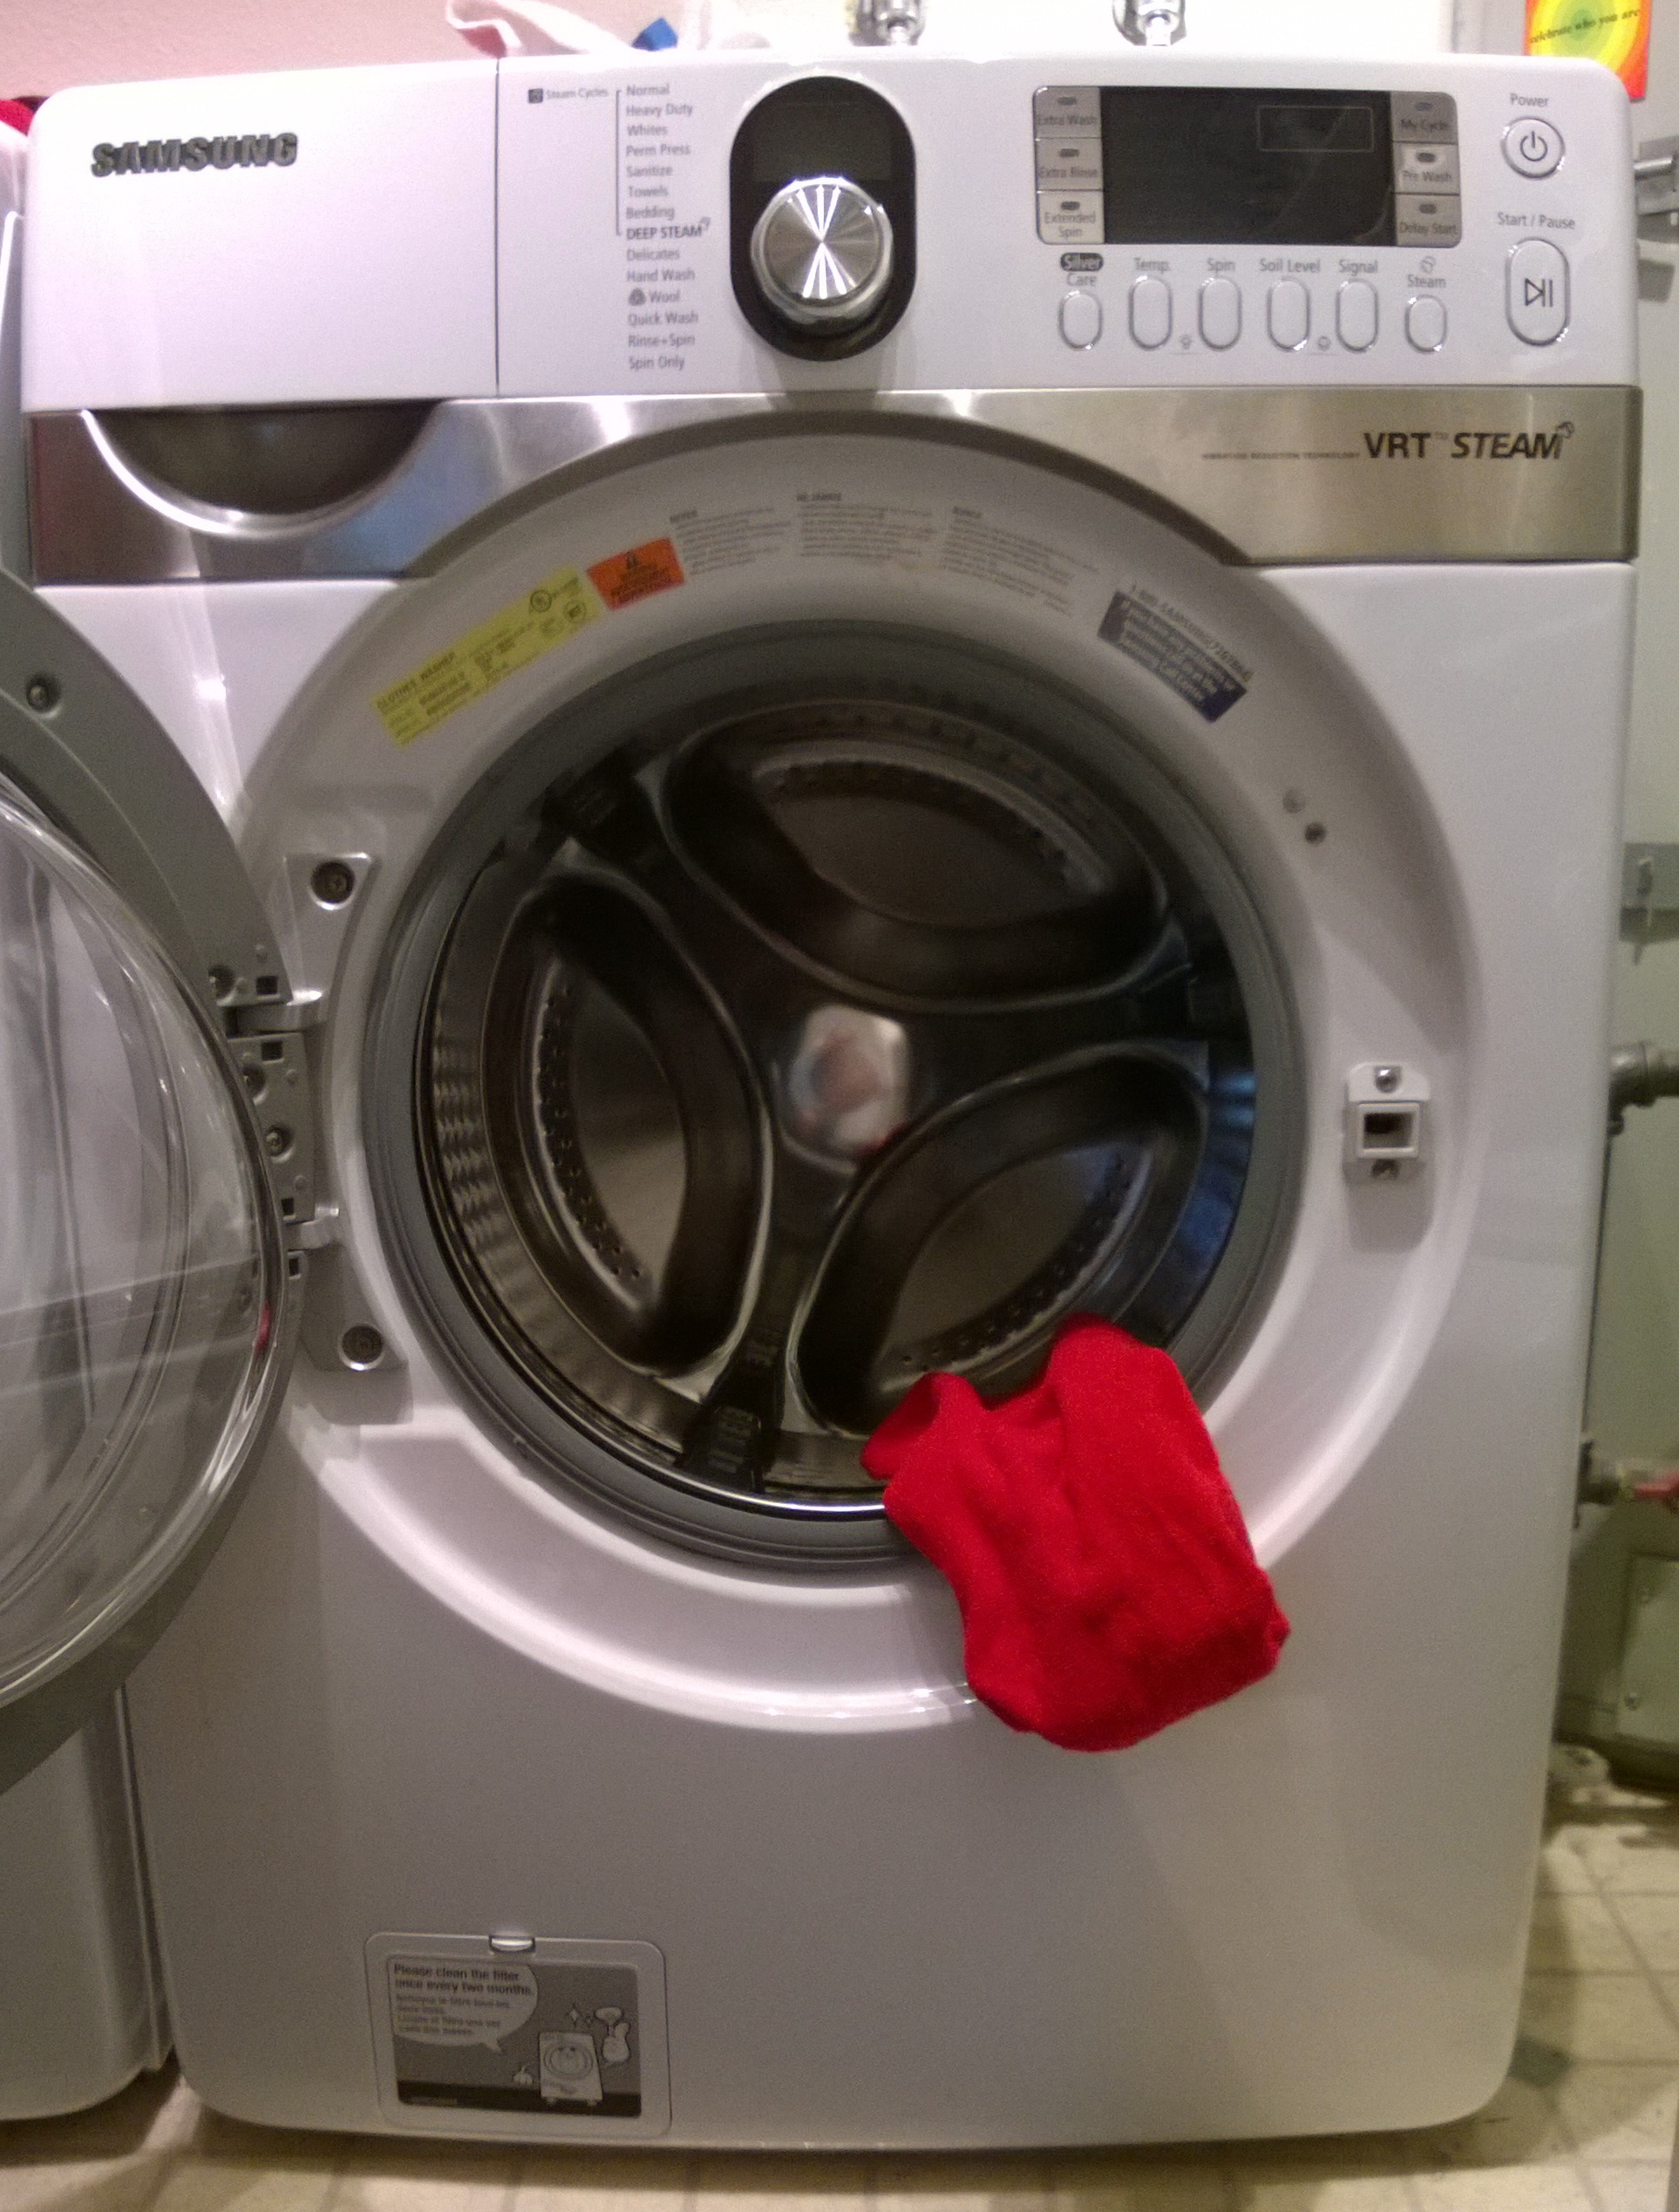
Hallelujah! Today I finally finished adding washer monitoring functionality to the tweeting dryer setup I built earlier (see: Getting started with Arduino). Say hello to Gus!
My implementation was built up from the excellent work by Thomas Taylor for his article in Make, The Dryer Messenger. It provided a great starting point for this project but I wanted a bit more… I wanted to have my washer tweet and I wanted the washer/dryer quotes to be pulled from the web. Should be simple enough, right? I was thinking that after I added an additional connection to the hardware configuration that it should be as easy as duplicating the dryer code and renaming some functions. However, nothing is never that easy. My optimistic guess was that I’d add 100 lines of code and in the end it was more like 300. It was a fantastic learning experience.
A quick overview of my upgrades:
I’ll share out my code, an updated circuit design as well as a quick write up on how I’m pulling random strings from the web. Right now, however, I need to go do a load of laundry.