A couple months ago our Samsung dryer started developing a small thumping sound. It started off small and easy to ignore but gradually became more and more insistent, to the point where I popped the top of the dryer to investigate (it easily comes open via a couple screws in the back). I was hoping I’d find a missing sock stuck somewhere making a noise. I didn’t.
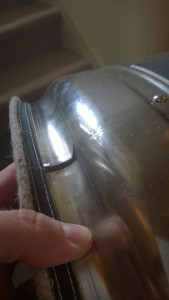
With the top off I was able to inspect the outside of the dryer drum. The thumping sound was due to a failed weld in the dryer barrel. The drum in the samsung dryer (and probably most dryers) is supported by a set of wheels. As the drum rotated the split seam would go over a wheel and make a noise as drum distorted. Unfortunately this is a fairly common problem. Fortunately it’s easy to fix.
I started by making sure it was a repair I’d be able to attempt myself. A search on YouTube for Samsung dryer repair netted me this great video from RepairClinic.com. It gave clear instructions on taking apart the dryer and even had excellent warnings about which components had sharp edges. I’m sure to check them out for repairing any of my appliances in the future.
Convinced the repair was matched to my skill level I then proceeded to source a replacement drum for my dryer. Repair Clinic.com sells replacement parts and their prices seem competetive. For an large part like the dryer drum, however, they have an added “oversize” shipping fee. While I would have loved to reward RepairClinic.com for producing the awesome video I was able to save $60 by ordering from a retailer on Amazon. My final cost for the replacement part was $222 shipped.
The new drum arrived in less than 5 days. The new drum was a new part number from Samsung, I’m guessing Samsung improved the weld since so many were failing. To my untrained eye the new dryer drum’s weld looks like it’s heavier. Fingers crossed that this won’t be a repair I need to make every six years.

All told it took me about an hour to complete the repair. The most complicated part of the repair turned out to be getting the dryer belt wrapped back around the motor and idler pulleys. To get the drive belt hooked back up you need to reach in under the dryer and perform the operation pretty much by feel. The video from RepairClinic.com does give a very clear picture of what you’re not seeing, so don’t dispair.
Hmm… what can I fix now? I may have to go break something… don’t tell Paula.
