Categories
Idle Tech

Speaker building lite

I’ve ticked one more thing off my list of nerdy things I’ve been wanting to try: building speakers. Admittedly, I didn’t do the full building experience this time, choosing instead to start with an existing set of speaker cabinets and upgrading them. It was a great way to start learning about the hobby.
blown speaker
Old speaker, new home

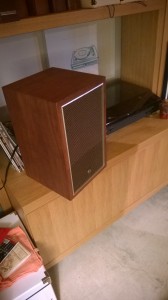
This project moved from the “someday” to “now” project list when Paula and I came across a pair of retro-looking bookshelf speakers at Goodwill. The speakers weren’t high quality and they could have been blown out for all I knew, but they looked kind of cool and the price was right. At under $20 they were less than wood and speaker grill cloth to build my own cabinets, so we picked them up and headed home to try them out. I was pleased to find out that my newly purchased speakers were completely blown.
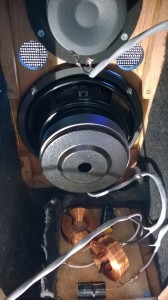
crossover installed in speaker cabinet
Crossover done and installed

With the help of the staff at Parts Express I selected appropriately sized drivers (the round speaker bits to us humans) and crossovers (the electronics that split high and low frequencies) for my old cabinets. When I went to buy the crossovers I was pleasantly surprised to find they would be out of stock until mid-May. Yes, pleasantly surprised because that meant I would also get to build my own crossovers.
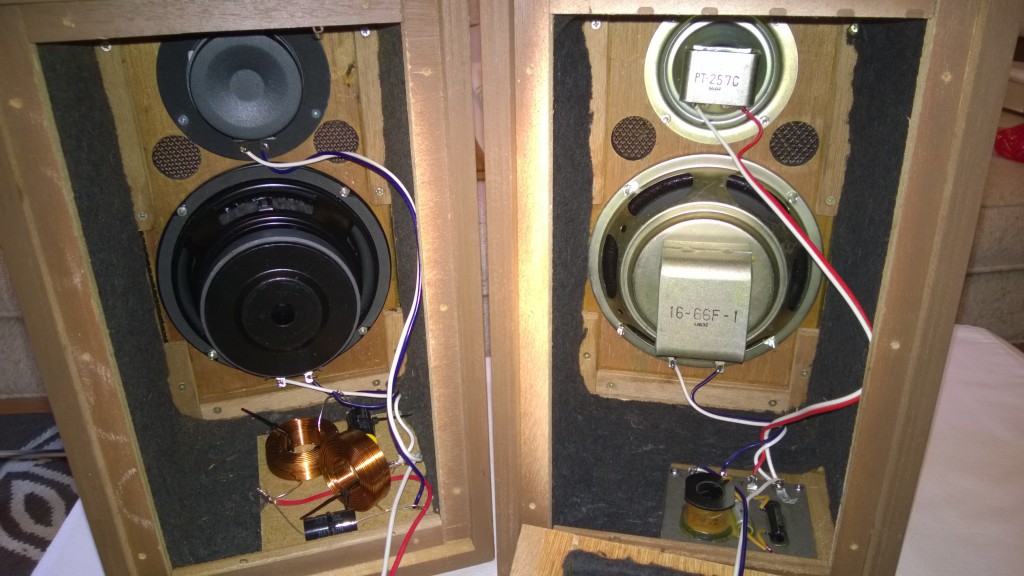
inside picture of speakers
Before (right) and after (left) pictures of my speakers

Now, all that remains is to sit back and turn on some music.
Categories
Idle Tech

Getting started with Arduino

I’ve been reading about Arduino in Make magazine for years now and decided to jump in. I picked up a starter kit from Adafruit along with Make’s excellent “Getting Started with Arduino” book. The tutorials were a perfect introduction to electronics and provided easy code to get started modifying. Anyone with even the most basic understanding of computer programming can be up and creating in no time flat.

WP_20130419_001

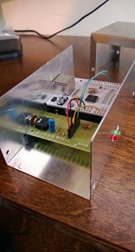
One thing I’ve been wanting to do for a long time is build a weather station for logging temperature, humidity, etc. The parts for Arduino are easy to come by and there are a ton of examples out there to get you started. That was, however, until I came across Make’s really cool Dryer Messenger project. Built with an Arduino, a network adapter and current sensor, this nifty gadget makes your dryer send out tweets when it finishes a load. Yep, no more forgetting your load of laundry only to find it the next day as a mass of un-ironable wrinkles.

WP_20130427_007 WP_20130427_005

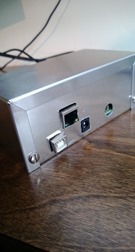
Armed with Make’s excellent instructions, a metal project box from Radio Shack and a non-invasive current sensor I set to work recreating the Dryer Messenger. I am using an Ethernet shield instead of the wireless option used in the article, so I had to change the code a little bit… but that was simple given the sample code.

WP_20130427_004

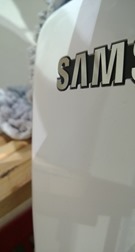
It took a couple of weekends to get it all together and running, but that was more a function of life getting in the way of fun. Now we can say that we are part of the IOT (Internet of Things) revolution. Our friendly dryer, Sam, is now up and running with his very own Twitter account: @3rdPlaceDryer.